Home Assistant Integration Overview
Astrion Remote is a dedicated physical interface for the Home Assistant ecosystem. Learn how to connect, configure, and extend your remote with RosCard, scripts, and custom automations.
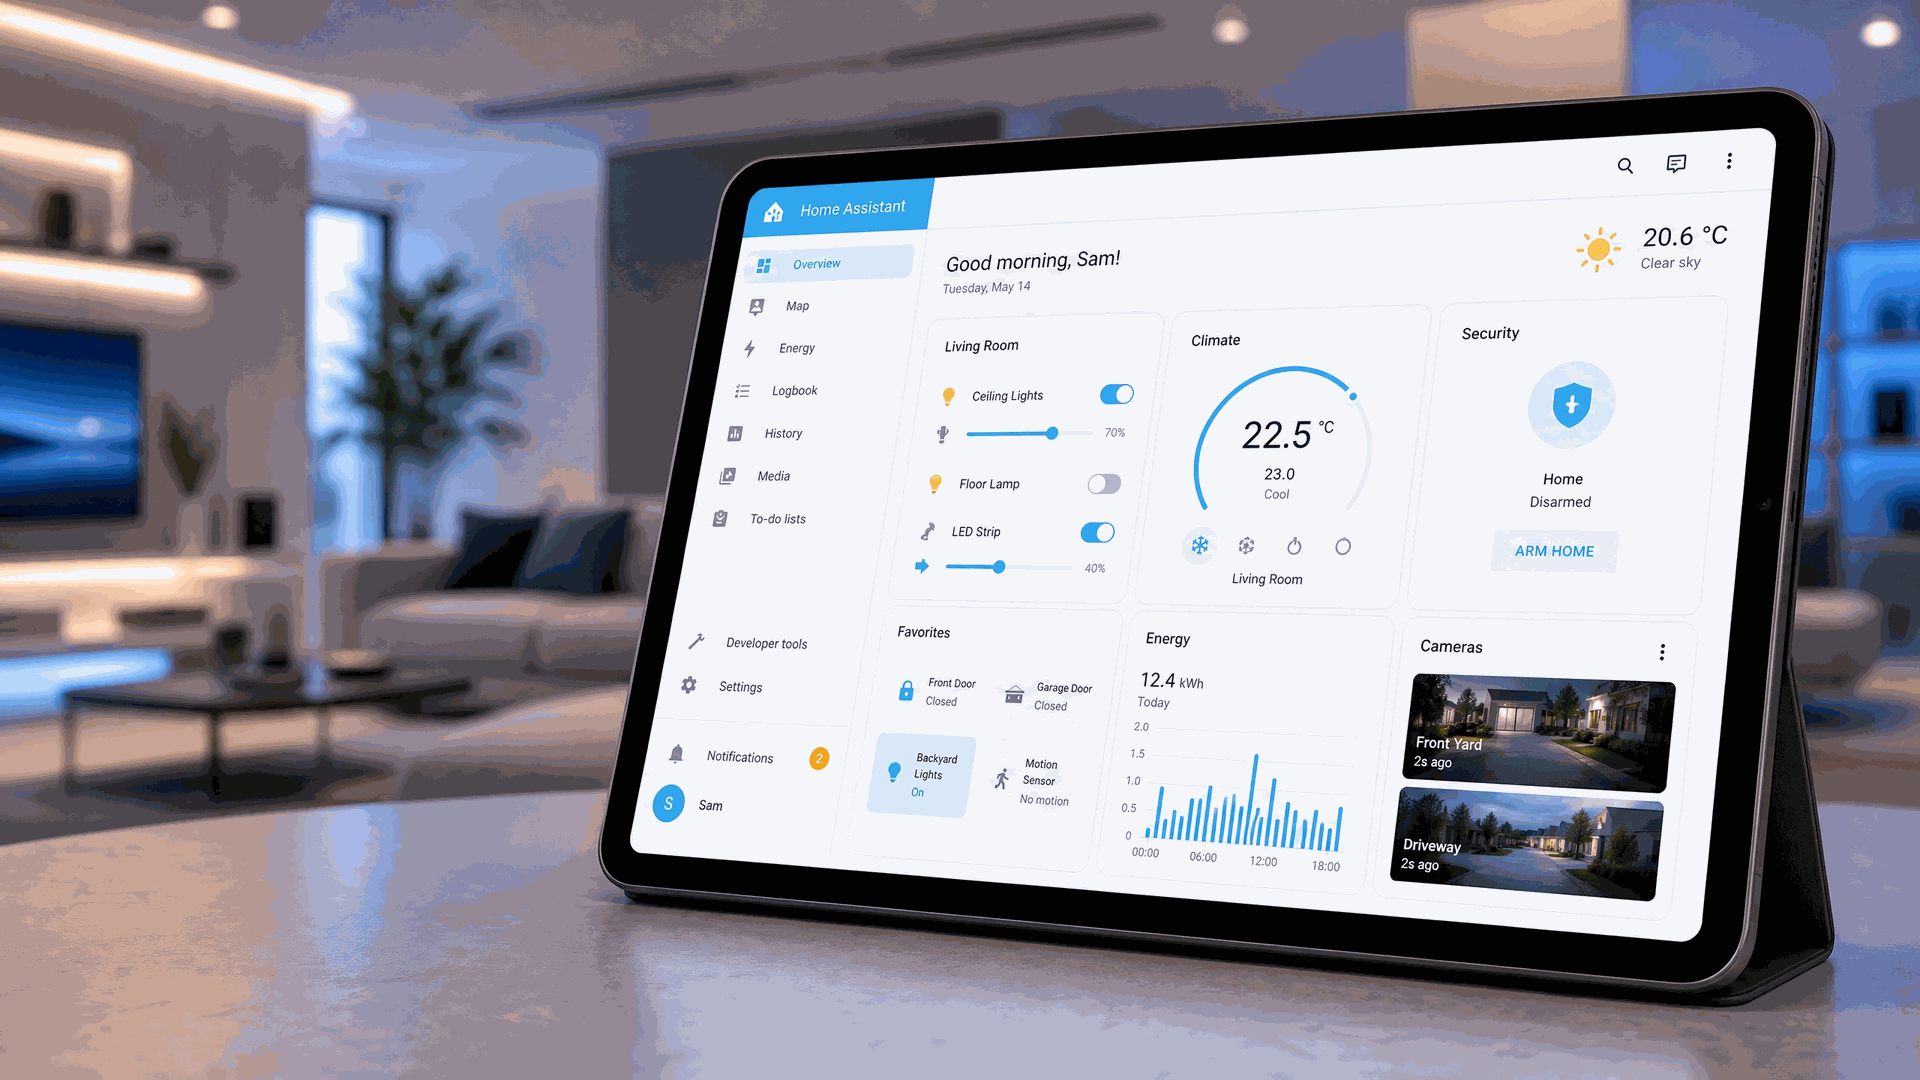
Video Review: Astrion Smart Remote
Featured by XDA Developers · November 2025Integration Architecture
Astrion Remote is not a traditional universal remote — it's a physical interaction terminal designed specifically for Home Assistant. All automation logic, device states, and scene definitions remain in Home Assistant, while Astrion provides a tactile, dedicated interface.
│ Home Assistant │
│ (All automation logic, device states, scripts run here) │
└─────────────────────────────────────────────────────────────┘
│
│ WebSocket API / Long-Lived Token
▼
┌─────────────────────────────────────────────────────────────┐
│ RosCard │
│ (Custom cards in HA that define Astrion's UI & behavior) │
└─────────────────────────────────────────────────────────────┘
│
│ Sync
▼
┌─────────────────────────────────────────────────────────────┐
│ Astrion Remote │
│ (Physical interface: touchscreen + buttons) │
└─────────────────────────────────────────────────────────────┘
This architecture gives you maximum flexibility — all logic stays in Home Assistant, while Astrion provides a fast, reliable, and focused control interface.
💡 Key Insight: Astrion Remote is a terminal, not a hub. It does not connect directly to Zigbee, Z-Wave, or other device protocols — it communicates exclusively with Home Assistant via the WebSocket API.
Core Features
RosCard Driven
Configure dedicated cards in HA — Light, Climate, TV, Scene, and more
Script Binding
Trigger HA scripts directly from physical buttons or screen
Physical Button Mapping
Device-aware button behavior — navigation controls TV, volume controls AVR
Local IR Control
V1.2.0+ — control TVs, set-top boxes, and AV equipment directly
Harmony HUB Support
Connect to existing Harmony HUB without reconfiguring devices
Secure Authentication
Long-Lived Access Tokens for secure, revocable access
Quick Start Guide
Prerequisites
- Home Assistant running (Core 2023.1 or newer)
- HACS (Home Assistant Community Store) installed
- Astrion Remote powered on and connected to Wi-Fi
- Both devices on the same local network
Integration Steps
1 Create a Long-Lived Access Token
In Home Assistant, go to Profile → Security → Long-Lived Access Tokens. Create a token named "Astrion Remote" and copy it immediately.
2 Install RosCard via HACS
Add the RosCard repository to HACS and install the card package. Restart Home Assistant if prompted.
3 Pair Your Astrion Remote
On your Astrion Remote, go to Settings → Home Assistant → Login. Scan the QR code containing your HA URL and token, or enter them manually.
4 Configure RosCard Cards
In Home Assistant, add RosCard cards to your dashboard — Light Card, Climate Card, TV Card, Scene Card, and more. Bind your entities to each card.
5 Refresh Your Remote
On your Astrion Remote, pull down from the top of the screen and tap Refresh to load your new cards.
✅ Done! Your Astrion Remote is now integrated with Home Assistant. Start controlling your smart home from a dedicated, tactile interface.
Deep Dive: Physical Button Mapping
Astrion Remote's physical buttons can be mapped in two ways, giving you maximum flexibility:
1. TV Card Button Mapping
Within a TV Card, physical buttons follow the card's mapping. This allows you to have context-aware buttons — for example, the volume buttons control your AVR when watching TV, and control your soundbar when listening to music.
2. Global Shortcut Configuration
For buttons outside any specific card, you can configure global shortcuts in Settings → Shortcut Configuration. These shortcuts work anywhere on the remote.
💡 Pro Tip: Use TV Card mapping for device-aware control (navigation controls TV, volume controls AVR), and use global shortcuts for quick access to scenes and scripts.
Deep Dive: Activities & Scripts
Astrion Remote supports Harmony-style activities using Home Assistant scripts. This is the most powerful way to create multi-device workflows.
How It Works
- Create a Home Assistant script that sequences multiple actions
- Bind the script to a physical button or screen button on your TV Card
- One press triggers the entire sequence — turn on TV, switch input, dim lights, close blinds
Example: Movie Night Script
alias: "Movie Night"
sequence:
  - service: remote.send_command
    target: { entity_id: remote.living_room_tv }
    data: { command: "POWER" }
  - service: remote.send_command
    target: { entity_id: remote.living_room_avr }
    data: { command: "POWER" }
  - service: media_player.select_source
    target: { entity_id: media_player.living_room_tv }
    data: { source: "HDMI 1" }
  - service: light.turn_on
    target: { entity_id: light.living_room }
    data: { brightness: 25 }
Deep Dive: Local IR Control
Starting with V1.2.0, Astrion Remote supports local infrared control through the built-in IR transmitter.
Requirements
- Astrion Remote firmware V1.2.0 or newer
- Astrion Home Integration installed in Home Assistant
- RosCard V1.2.0 or newer
Supported Devices
- TVs (most brands)
- Set-top boxes
- Audio equipment
- Devices with custom IR codes
Deep Dive: Advanced Customization
For advanced users, Astrion Remote supports sideloading third-party applications via ADB (Android Debug Bridge). This unlocks powerful customization options.
How to Enable ADB
- Go to Settings → System → About
- Tap Software Version 7 times to enable Developer Mode
- Connect your remote to a computer via USB-C
- Use ADB commands to install applications
Recommended Apps
- Fully Kiosk Browser — Run full HA dashboards as standalone apps
- KeyMapper — Advanced physical button mapping (launch apps, trigger HA actions)
- Floating Apps — Create overlay controls for quick access
⚠️ Warning: Sideloading is for advanced users. Installing untrusted applications may affect system stability. Proceed at your own risk.
Version History
Key software versions and their Home Assistant integration features:
- V1.4.1 (July 2026) — Weather Details Page; Venetian Blind support; Button Event Reporting restored
- V1.4.0 (July 2026) — Custom physical button mapping (TV Card); improved device discovery
- V1.3.0 (June 2026) — Dashboard navigation as automation actions; Android TV independent power
- V1.2.0 (June 2026) — Local IR control; Harmony HUB integration; media player binding
- V1.1.5 (May 2026) — Flexible volume binding; sound field mode selection
- V1.1.2.1 (March 2026) — Self-signed certificate support; TLS authentication
- V1.1.0 (February 2026) — Automatic HA reconnection; domain-based login
Troubleshooting
Remote Shows "No Connection"
- Verify both devices are on the same Wi-Fi network
- Check that your Home Assistant server is running
- Re-scan the QR code or verify your token is still valid
Cards Not Showing on Remote
- Pull down from the top of the screen and tap Refresh
- Ensure RosCard is installed and configured correctly
- Check that entities exist and are properly bound
Physical Buttons Not Responding
- Check your TV Card button mapping configuration
- Verify global shortcuts in Settings → Shortcut Configuration
- Try rebinding the button
Script Not Triggering
- Verify the script exists in Home Assistant and is enabled
- Check that the script's entity_id is correctly entered in the button mapping
- Test the script directly from Home Assistant to ensure it works
🔧 Still Having Issues? Visit our Troubleshooting page or create a forum post with your current software version, RosCard version, and any error messages.
Related resources
Need help with Home Assistant integration?
Our support team and community are here to assist you.