Power On & First Boot
Learn how to power on your Astrion Remote HA100 for the first time. Explore the Astrion Launcher interface and get familiar with the settings menu.
Powering On Your Astrion Remote
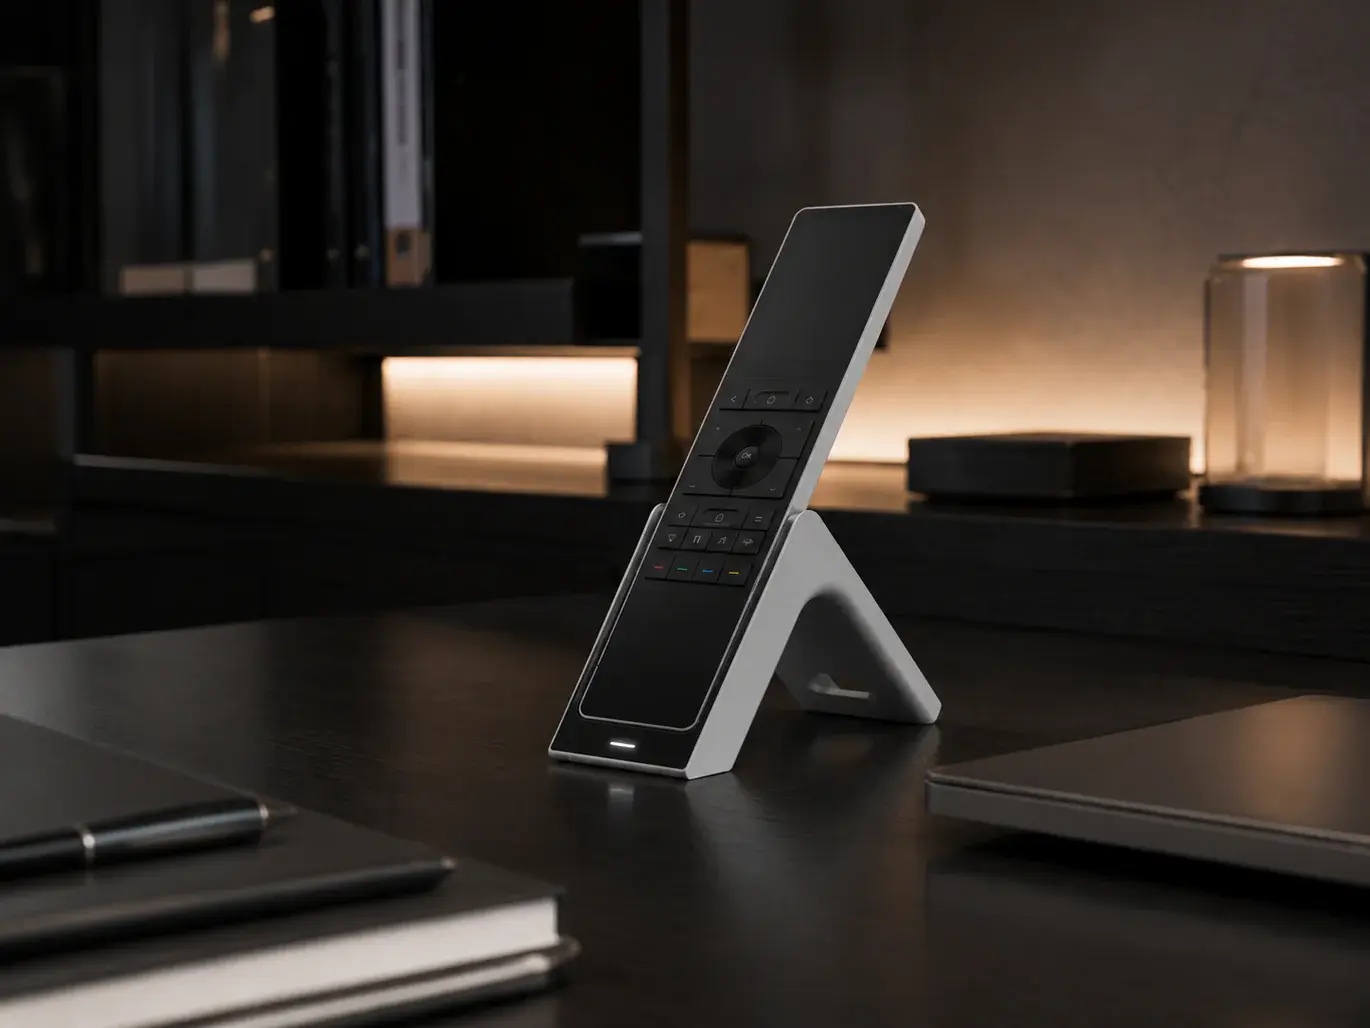
The Astrion Remote HA100 is designed to start up quickly and launch directly into the Astrion Launcher. Follow these steps to power on your device for the first time.
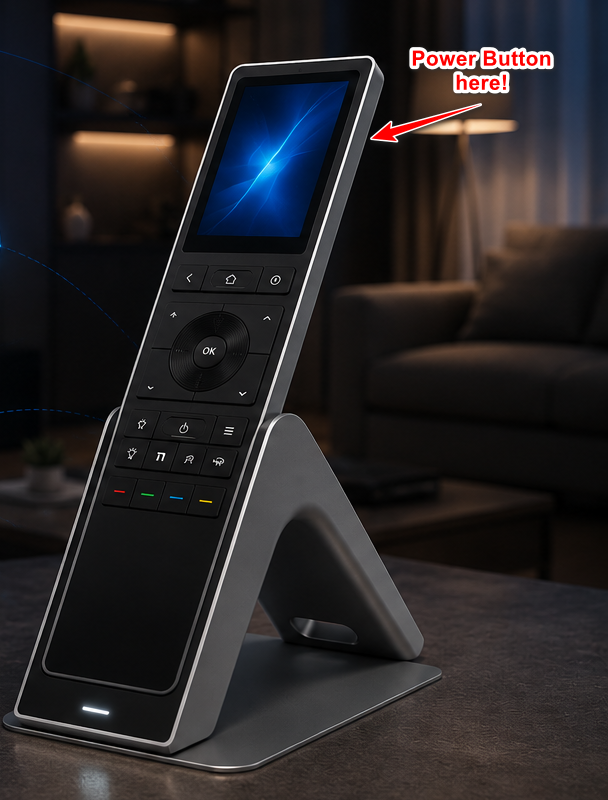
1 Locate the Power Button
The power button is located on the right side of the remote. It's the dedicated side button designed for power operations.
2 Press and Hold
Press and hold the power button for 3-5 seconds until the screen activates. You should see the "Smart Screen" appear on the display.
3 Wait for the Launcher
The device will boot up and automatically launch the Astrion Launcher interface. This is your main control hub for accessing dashboards and settings.
💡 Tip: If your remote was shipped with a completely drained battery, place it on the charging dock for at least 30 minutes before attempting to power it on.
Astrion Launcher Overview
The Astrion Launcher is your mission control — designed for single-purpose, efficient Home Assistant control. It provides a clean interface optimized for the remote's 3.1-inch touchscreen.
Home Screen
Your primary HA dashboard and view switcher
Settings
Configure shortcuts, Wi-Fi, and HA connection
System Tray
Quick access to brightness, sleep, and power options
OTA Updates
Check for and install firmware updates
Navigating the Interface
- Home Screen: Displays your RosCard dashboards. Swipe left/right to switch between dashboard & detail control views.
- Settings Menu: Swipe down from the top of the screen, tapping the gear icon in the buttom-right corner.
- System Tray: Swipe down from the top of the screen to access quick settings.
- Refresh: Pull down from the top of the home screen and tap the refresh button to sync new RosCard views.
📌 Note: The Astrion Launcher is specifically designed for Home Assistant integration. After initial setup, it automatically connects to your Home Assistant server and loads your designated RosCard profiles.
Settings Menu Overview
The settings menu is where you'll configure your Astrion Remote's connection to Home Assistant, set up Wi-Fi, and customize shortcut buttons.
Key Settings
- Home Assistant Login: Connect or reconnect to your Home Assistant server via QR code or manual entry.
- Wi-Fi Settings: View and change your Wi-Fi network connection.
- Shortcut Configuration: Assign actions to physical buttons.
- System Settings: Brightness, sleep timer, restart, and factory reset.
- About: Check firmware version and available OTA updates.
⚠️ Important: Before you can control your smart home devices, you'll need to connect your Astrion Remote to Home Assistant. This is covered in the next step: Connect to Wi-Fi and Pair with Home Assistant.
Power Off & Restart
Power Off
- Press and hold the side power button for 3-5 seconds.
- Select "Power Off" from the pop-up menu.
Restart
- Press and hold the side power button for 3-5 seconds.
- Select "Restart" from the pop-up menu.
💡 Tip: If you encounter any issues with the interface or connectivity, a quick restart often resolves the problem without losing any settings.
Troubleshooting
Remote Won't Power On
- Check the battery: Ensure the remote is charged. Place it on the charging dock for at least 30 minutes.
- Check the power button: Press and hold for a full 5 seconds. The button should feel responsive.
- Hard reset: If the remote is completely unresponsive, try connecting it to the charging dock and attempt to power on again.
Screen Stays Black
- Ensure the remote has been charged for at least 30 minutes.
- Check that the charging dock is properly connected to power (LED should be lit).
- If the screen remains black, contact Sanytron support for assistance.
Astrion Launcher Not Loading
- Wait a few moments — the first boot may take slightly longer than normal.
- If the launcher doesn't appear, try restarting the remote.
- If the problem persists, check for firmware updates or contact support.
⚠️ Important: Some early units shipped with a completely drained battery due to the packaging pressing the power button during shipping. If this happens, place the remote on the charging dock and allow it to charge for at least 30 minutes before attempting to power it on.
What's Next?
Your Astrion Remote is now powered on and you're familiar with the launcher interface. The next step is to connect to Wi-Fi so you can pair with Home Assistant.
Related resources
Need help powering on?
Our support team and community are here to assist you.