Charging Your Astrion Remote
Learn how to charge your Astrion Remote HA100 using the magnetic charging dock. Understand LED indicators, battery life, and best practices for battery care.
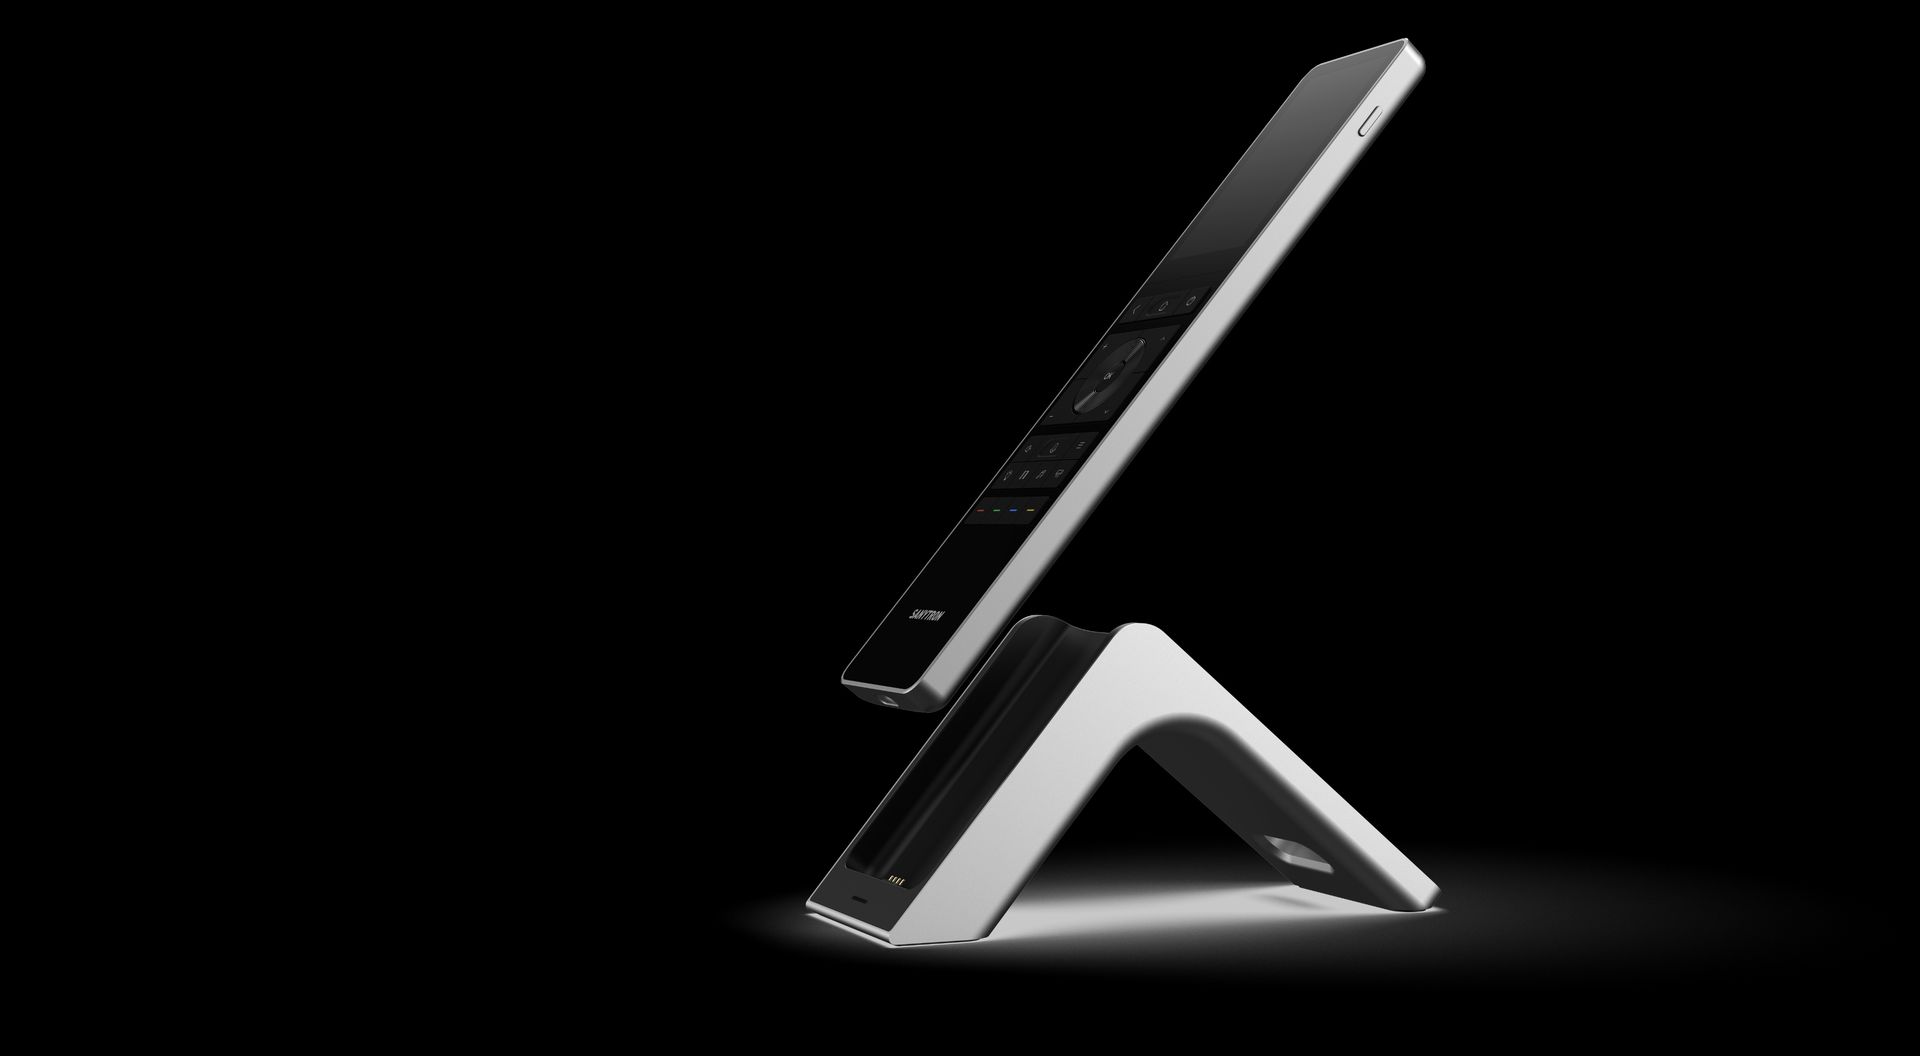
How to Charge Your Astrion Remote
Your Astrion Remote HA100 comes with a magnetic charging dock that makes charging simple and convenient. Just place the remote on the dock and it will automatically align and start charging.
1 Connect the Charging Dock
Plug the USB charging cable into the port on the back of the charging dock. Connect the other end to a USB power adapter (5V, 2A recommended) and plug it into a wall outlet.
2 Place the Remote on the Dock
Gently place your Astrion Remote onto the magnetic charging dock. The magnets will guide it into the correct position. You should feel a satisfying "click" when the remote is properly seated.
3 Verify Charging Status
Check the LED indicator on the front of the charging dock to confirm charging has started. See the LED Status Guide below for details.
4 Wait for Full Charge
Allow the remote to charge for approximately 2-3 hours for a full charge from empty. The Astrion Remote's 2000mAh battery provides extended standby time and several hours of active use.
💡 Tip: The charging dock is designed for continuous docking. You can leave your Astrion Remote on the dock when not in use — it will maintain the battery at full charge without overcharging.
LED Status Guide
The charging dock has a small LED indicator that shows whether the dock itself is receiving power. Here's what it means:
Solid Green
The dock has power and is ready. This is the normal state when the dock is connected to power.
Off
The dock is not receiving power — check the USB connection and power adapter.
⚠️ Important: The LED on the dock does not change color during charging — it remains green as long as the dock has power. To confirm that your remote is actually charging, look for the charging animation on the screen and the lightning bolt indicator next to the battery icon in the top-right corner.
Battery Care & Best Practices
The Astrion Remote HA100 is equipped with a 2000mAh rechargeable lithium battery. Following these best practices will help extend battery life and maintain performance.
Recommended Practices
- Charge regularly: Place the remote on the dock when not in use to keep the battery topped up.
- Avoid deep discharge: Try not to let the battery drain completely before charging.
- Use the included dock: The magnetic charging dock is designed specifically for optimal charging performance.
- Keep contacts clean: Periodically wipe the charging contacts on both the remote and the dock with a dry cloth.
- Store properly: If storing for extended periods, keep the battery at around 50% charge in a cool, dry place.
Battery Specifications
- Capacity: 2000mAh rechargeable lithium battery
- Charging time: Approximately 2-3 hours (full charge from empty)
- Standby time: Several days on a full charge
- Active use: Several hours of continuous screen-on use
🔋 Did you know? The Astrion Remote's battery is designed to last for hundreds of charge cycles. With normal use, you can expect the battery to maintain good performance for several years.
Troubleshooting
Remote Not Charging
- Check the connection: Make sure the USB cable is securely connected to both the dock and the power adapter.
- Verify power source: Ensure the wall outlet is working and the power adapter is providing power (5V, 2A recommended).
- Check alignment: Remove the remote and place it back on the dock. Listen for the magnetic "click" that indicates proper alignment.
- Clean the contacts: Dust or debris on the charging contacts can prevent charging. Wipe them gently with a dry cloth.
LED Flashing Red
- Remove the remote from the dock and wait 5 seconds.
- Check that the charging contacts are clean and free of debris.
- Place the remote back on the dock, ensuring proper alignment.
- If the problem persists, try a different USB cable or power adapter.
Battery Drains Quickly
- Check for background apps or processes that may be consuming power.
- Reduce screen brightness or timeout settings.
- Ensure the remote is running the latest firmware version.
- If the issue persists, contact Sanytron support for assistance.
⚠️ Important: If your remote arrived with a completely drained battery (a known issue with some early units where the packaging pressed the power button during shipping), place it on the charging dock and allow it to charge for at least 30 minutes before attempting to power it on.
🔌 Looking for an alternative? Astrion Remote can also be charged directly via a USB Type-C cable without the charging dock. Learn about USB-C charging →
What's Next?
Your Astrion Remote is now charging. Once it's fully charged, you're ready to power it on and complete the setup process.
Related resources
Need help with charging?
Our support team and community are here to assist you.