Shortcut Configuration
Learn how to configure physical buttons on your Astrion Remote. This guide covers TV Card button mapping (V1.4.0+) and global shortcuts — two powerful ways to customize your remote's physical controls.
Overview
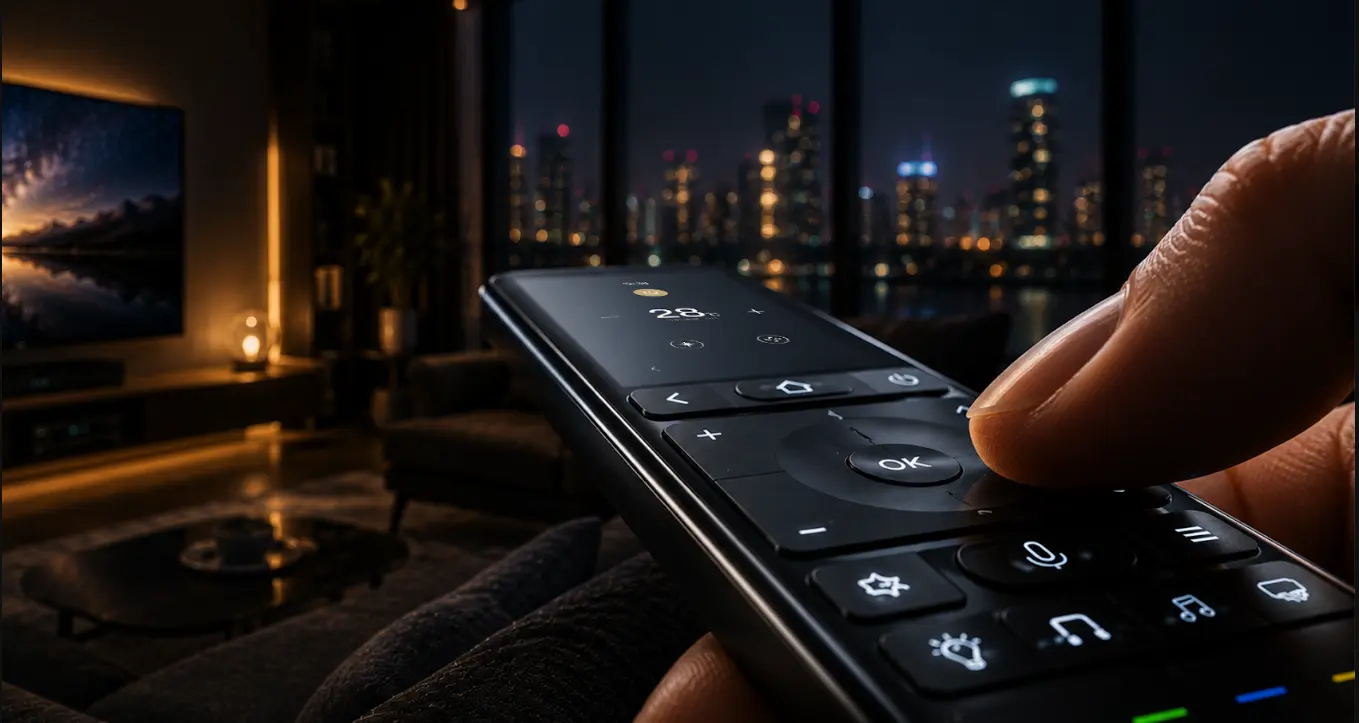
Astrion Remote's physical buttons can be customized in two ways, giving you flexible, context-aware control:
- TV Card Button Mapping: Customize buttons within a TV Card for device-specific control (V1.4.0+)
- Global Shortcuts: Configure buttons that work anywhere on the remote
These two methods can work together seamlessly. When in a TV Card interface, the TV Card mapping takes precedence. When outside a TV Card, the global shortcuts apply.
💡 Tip: Use TV Card mapping for context-aware control (e.g., volume buttons control your AVR when watching TV) and global shortcuts for system-wide actions (e.g., launching a dashboard or triggering a scene).
Method 1 — TV Card Button Mapping
Introduced in V1.4.0, this feature allows you to map physical buttons specifically within a TV Card. This is perfect for context-aware control — different devices can have different button behaviors.
Supported Button Types
The TV Card supports mapping up to 8 custom physical buttons. These can be bound to:
- Remote commands: POWER, VOLUME_UP, CHANNEL_DOWN, etc.
- Home Assistant scripts: Trigger custom automations
- Scenes: Activate movie mode, good night, etc.
- Custom service calls: Any Home Assistant service
Context-Aware
Different button behavior per device
8 Buttons
Up to 8 custom physical buttons
Script Binding
Trigger HA scripts directly
Flexible Mapping
Remote commands, scenes, or services
Configuration Steps
1 Open TV Card Configuration
In Home Assistant, open the dashboard containing your TV Card and click Edit to open the card configuration.
2 Select Your Astrion Model
In the TV Card settings, select your Astrion Remote model. This determines which physical buttons are available for mapping.
You can find your model information in the Astrion App under Settings → About.
3 Configure Button Mappings
For each physical button, assign a function:
key— The physical button to map (POWER, VOLUME_UP, KEY_A, etc.)type—remotefor device commands,scriptfor HA scriptsentity_id— The remote or script entityvalue— The command value (e.g., "POWER", "VOLUME_UP")
4 Understand Button Behavior State
In V1.4.0, the Button Behavior setting controls how physical buttons behave:
- Enabled: Physical buttons follow global shortcut mappings everywhere
- Disabled: Physical buttons follow TV Card mappings in TV Cards and global mappings outside
⚠️ Important: If you want TV Card mappings to work, ensure Button Behavior is set to Disabled.
5 Save and Refresh
Click Save in Home Assistant. On your Astrion Remote, pull down from the top of the screen and tap Refresh to load the updated configuration.
Method 2 — Global Shortcuts
Global shortcuts are configured directly on the Astrion Remote and work anywhere on the device — unless overridden by a TV Card mapping (when Button Behavior is Disabled).
Configuration Steps
1 Open Settings
On your Astrion Remote, pull down from the top of the screen to open the quick settings panel, then tap the gear icon (⚙️).
2 Navigate to Shortcut Configuration
In Settings, select Shortcut Configuration.
3 Select a Button
Choose the physical button you want to configure from the list.
4 Assign an Action
Select what the button should do:
- Device: Control a specific Home Assistant entity
- Scene: Activate a Home Assistant scene
- Script: Run a Home Assistant script
- Dashboard: Open a specific dashboard view
- App: Launch a specific app on the remote
5 Save and Test
Save the configuration and test the button. Press it once for short press behavior; hold it for long press behavior (if supported).
💡 Tip: Some buttons support both short press and long press actions. Configure both for maximum flexibility!
How They Work Together
The two configuration methods are designed to work together, giving you context-aware control.
Button Behavior States
Button Behavior = Enabled
Physical buttons follow global shortcut mappings everywhere. TV Card mappings are ignored.
Button Behavior = Disabled
Physical buttons follow TV Card mappings when a TV Card is active. Outside TV Cards, they follow global shortcut mappings.
Example: Home Theater Setup
- TV Card mapping: Volume buttons control the AVR; navigation controls the TV
- Global shortcuts: A custom button opens the Home Assistant dashboard
- Result: In the TV Card, volume adjusts the AVR and navigation controls the TV. Outside the TV Card, the same buttons follow global shortcuts
💡 Pro Tip: This is the recommended setup for most users — use TV Card mapping for context-aware control and global shortcuts for system-wide actions.
Advanced — ADB & KeyMapper
For advanced users who want complete control over their Astrion Remote's buttons, you can use ADB (Android Debug Bridge) and KeyMapper to unlock additional customization options.
What This Enables
- Multi-app control: Launch and control multiple apps with a single button
- System-level mapping: Map buttons to system functions like "Home", "Back", "Recent Apps"
- Custom shortcuts: Create button combinations for complex actions
- Fully customized launcher: Turn your remote into a dedicated Home Assistant controller
Setup Steps
1 Enable Developer Mode
On your Astrion Remote, go to Settings → System → About. Tap Software Version 7 times to enable Developer Mode.
2 Enable USB Debugging
Go back to Settings → System → Developer Options and enable USB Debugging.
3 Connect via ADB
Connect your Astrion Remote to a computer via USB-C and run:
4 Configure KeyMapper
Open KeyMapper on your remote and start mapping buttons to actions:
- Map a physical button to launch the Fully Kiosk Browser (running HA dashboard)
- Map another button to launch HARemote (Home Assistant remote app)
- Create custom button sequences for complex actions
⚠️ Warning: Sideloading apps and using ADB is for advanced users. Installing untrusted applications may affect system stability. Proceed at your own risk.
Video Tutorials
Watch these video guides to see button mapping and shortcut configuration in action.
💡 Tip: These tutorials cover the most common configuration scenarios. If you're looking for something specific, check the Sanytron YouTube channel for more.
Troubleshooting
TV Card Mappings Not Working
- Ensure Button Behavior is set to Disabled in TV Card settings
- Verify you've selected the correct Astrion model in the TV Card
- Refresh your Astrion Remote after saving changes
- Update Astrion firmware and RosCard to V1.4.0 or newer
Global Shortcuts Not Working
- Check if you're inside a TV Card with Button Behavior set to Disabled
- Verify the shortcut is correctly configured in Settings → Shortcut Configuration
- Try rebinding the button and refreshing the remote
Buttons Not Responding at All
- Check if the button is bound to a valid entity or action
- Verify the entity is available in Home Assistant
- Restart your Astrion Remote
- Try factory reset as last resort
KeyMapper Not Working
- Ensure USB Debugging is enabled
- Verify ADB is properly connected to your device
- Check that KeyMapper has the necessary permissions
- Try restarting the remote after installing KeyMapper
🔧 Still Having Issues? Please create a forum post with: your firmware version, RosCard version, which buttons you're trying to map, and any error messages you're seeing.
Related resources
Need help with button mapping?
Our support team and community are here to assist you.