Connect your smart home to your hand
Astrion Integration brings together Astrion Remote, RosCard, and Home Assistant. It turns your Astrion into a physical interface for your smart home — with local IR control, device discovery, and seamless integration with the Home Assistant ecosystem.
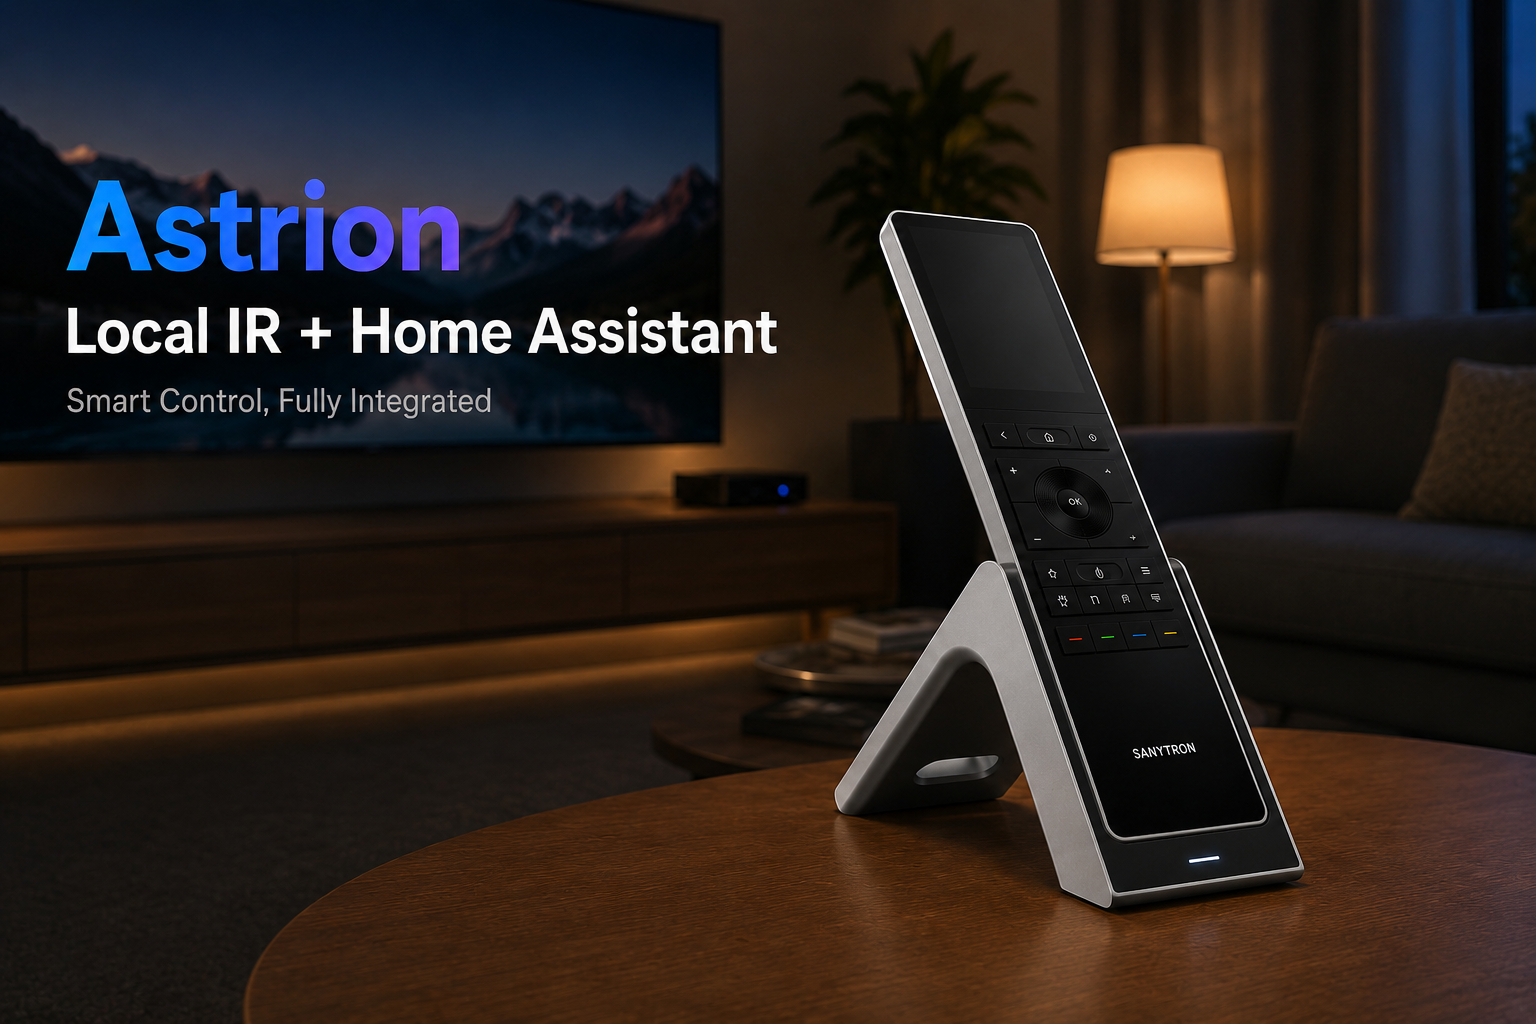
Introduced in Astrion V1.2.0 (June 2026)
What is Astrion Integration
Astrion Integration is the bridge between your Astrion Remote and Home Assistant.
Astrion Remote Gateway
Connects your Astrion Remote to Home Assistant. Each remote is identified by its unique serial number (SN), allowing multiple devices in a single installation.
Local Infrared Control
Control your IR devices (TVs, air conditioners, projectors, etc.) directly from Home Assistant. All IR signals are sent locally through your Astrion Remote.
Home Assistant Workflows
IR entities are fully integrated into Home Assistant. Use them in automations, scripts, and scenes. Combine IR control with sensors, timers, and other devices.
How It Works
Astrion Integration sits between your Astrion Remote, RosCard, and Home Assistant.
Home Assistant
The Source of Truth — all device states, automations, and intelligence live here.
Astrion Integration
The bridge — IR code management, device discovery, gateway between HA and Astrion.
RosCard
The interaction layer — custom cards, activities, and physical interface for the remote.
Astrion Remote
The physical interface — touchscreen, IR blaster, buttons, and tactile control.
Design Principles
Astrion Integration is built on three core principles.
Home Assistant is the Source of Truth
All device states, automations, and intelligence live in Home Assistant. Astrion Integration does not duplicate state — it's a bridge, not a separate system.
Physical Interface ≠ Dashboard Mirror
RosCard is not a clone of your HA dashboard. It is optimized for physical interaction — larger targets, activity-based workflows, and tactile feedback.
Activities over Devices
Astrion moves beyond "one remote per device." It's about Activities — "Watch Movie," "Listen to Music," "Focus" — where the system handles the complexity.
How to Install
Install Astrion Integration via HACS or manually.
Install via HACS (Recommended)
HACS is the easiest way to install and update Astrion Integration.
- Open HACS in Home Assistant
- Navigate to Integrations → Explore & Download Repositories
- Search for Astrion or use this repository URL:
https://github.com/yyqclhy/Astrion-integration- Click Download and wait for the installation to complete
- Restart Home Assistant
Manual Installation
If you prefer manual installation or are not using HACS:
- Download the latest release from GitHub Releases
- Copy the
custom_components/astrionfolder to your Home Assistantcustom_componentsdirectory - Restart Home Assistant
custom_components folder may not exist — create it if needed.Configure the Integration
After restart, Astrion Integration will be available in the Home Assistant integrations page.
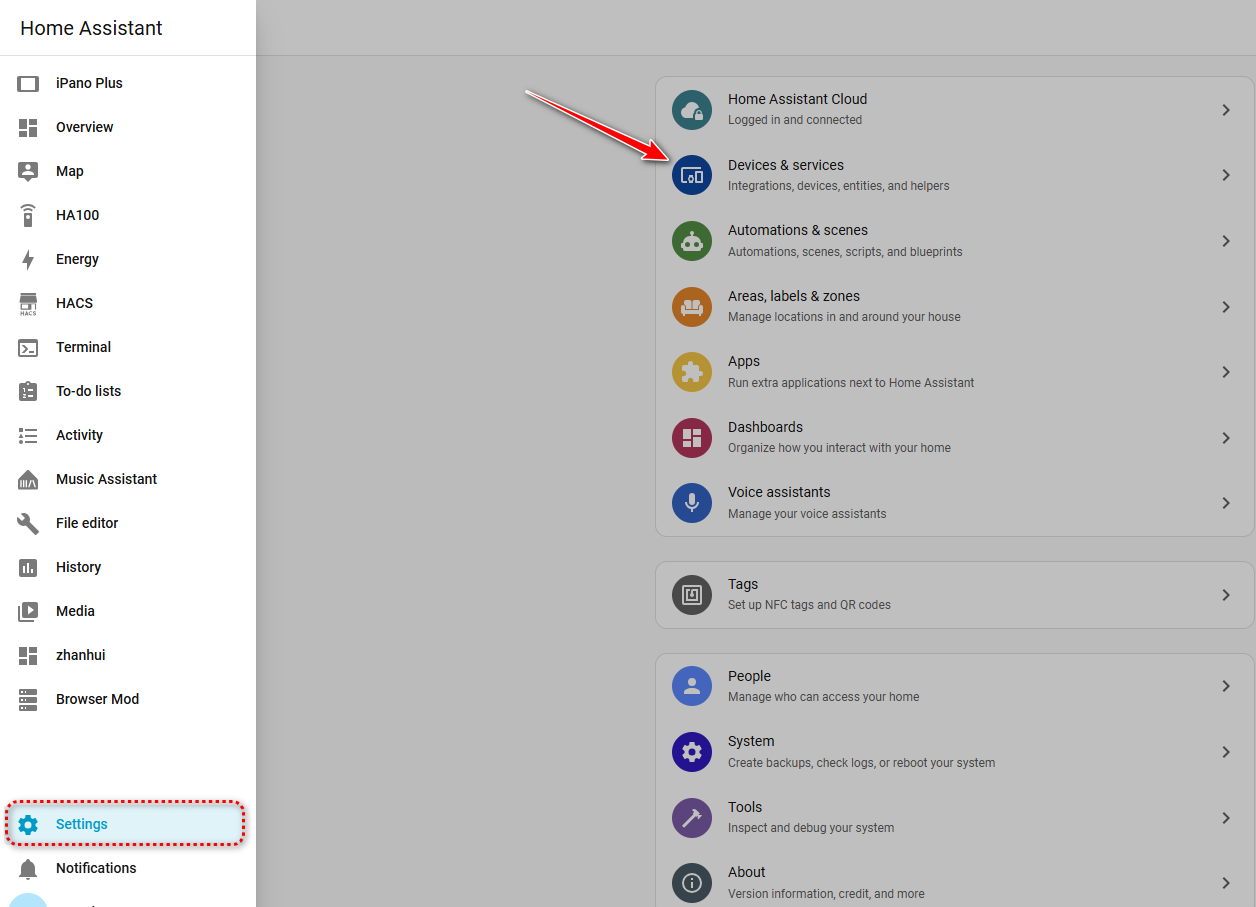
- Go to Settings → Devices & Services
- Click Add Integration and search for Astrion
- Follow the configuration flow
- You'll need a Long-Lived Access Token (created with an Administrator account)
- Your Astrion Remote will be discovered automatically on the same network
If you see "Gateway Not Found," check that your Astrion Remote is on the same network and has been paired with your Home Assistant instance.
Verify Installation
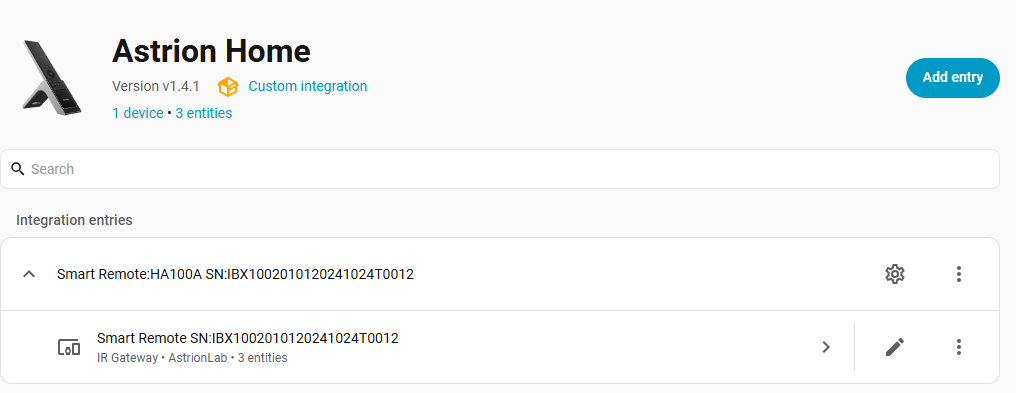
After configuration, you should see:
- Astrion Remote entities in Home Assistant
- IR entities for your configured devices
- Gateway status showing "Connected"
- RosCard entities available for activities and macros
Next: Configure RosCard for activities →
Common Issues
Quick fixes for the most common installation and configuration problems.
Gateway Not Found
If your Astrion Remote is not discovered:
- Check that your Astrion Remote is powered on and connected to Wi-Fi
- Verify that the remote and Home Assistant are on the same network/subnet
- Check the Serial Number (SN) in the remote's Settings → About
- Restart the Astrion Integration configuration flow
- If still not found, try manual entry of the remote's IP address
Token Authorization Failed
If you see token errors:
- Make sure the Home Assistant account used to create the token has Administrator permissions
- Create a new Long-Lived Access Token in Home Assistant
- Re-enter the token in the Astrion Integration configuration
- Log out and log back in on the Astrion Remote
Related Resources
Continue your Astrion journey with these guides.