ASTRION SERIES · SUPPORT GUIDE
Music Assistant Configuration
Connect your Astrion remote to Music Assistant (MA), configure access tokens, and control your audio ecosystem seamlessly.
Open MA & Login
On your Astrion remote's home screen, pull down and tap the MA icon, or go to Settings → Music Assistant.
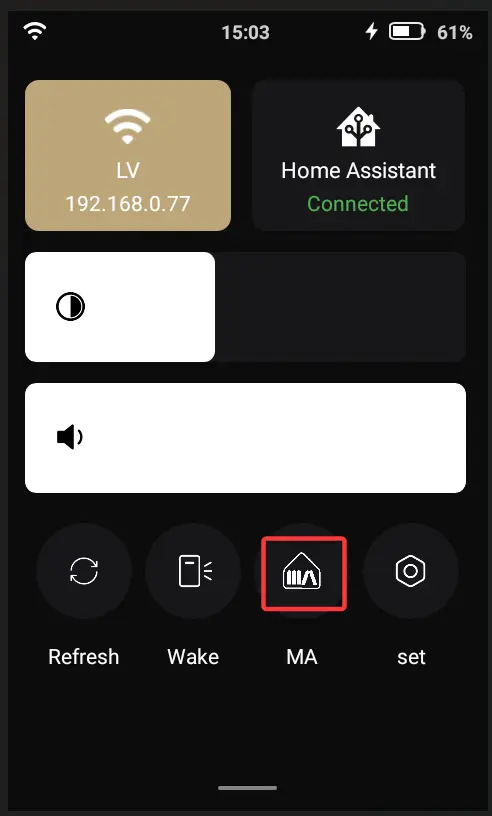
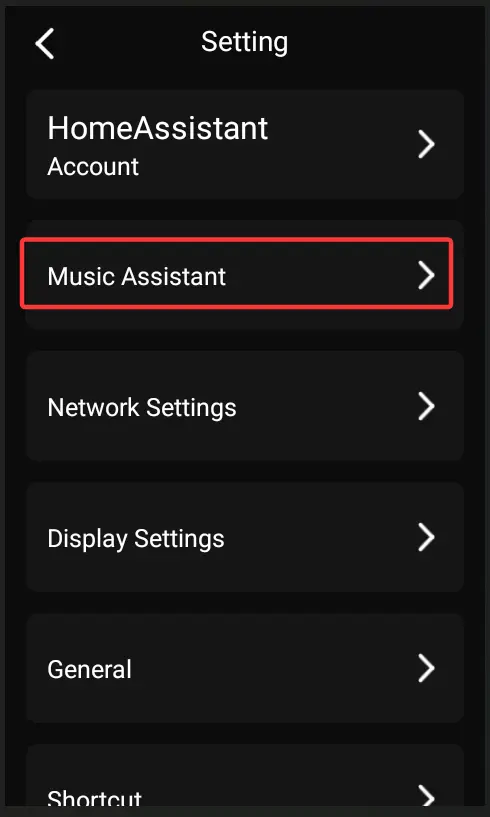
On the MA entry page, tap to log in. You can access the URL provided on the screen via a browser, or scan the QR code with your phone.
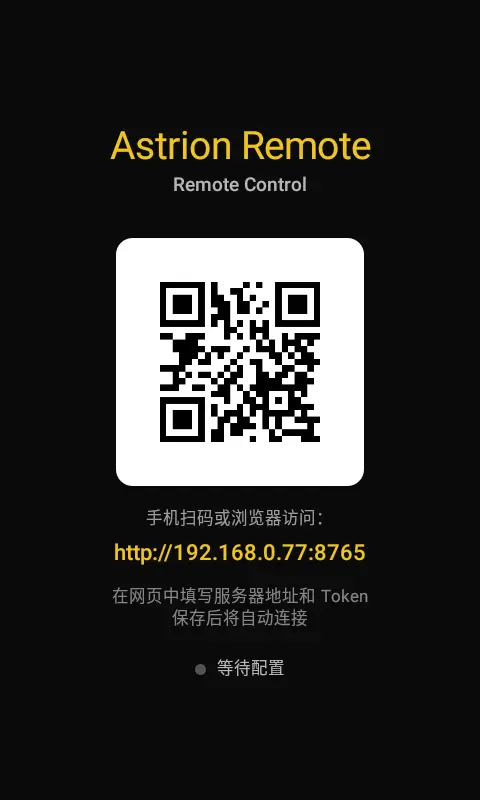
Enter Connection Details
Ensure your remote, the scanning phone, and the MA server are on the same network.
Open the login page and fill in the Music Assistant server IP, Port, and Access Token.
- Server IP: The IP address of the device running MA (e.g.,
192.168.0.127). - Port: The MA service port (e.g.,
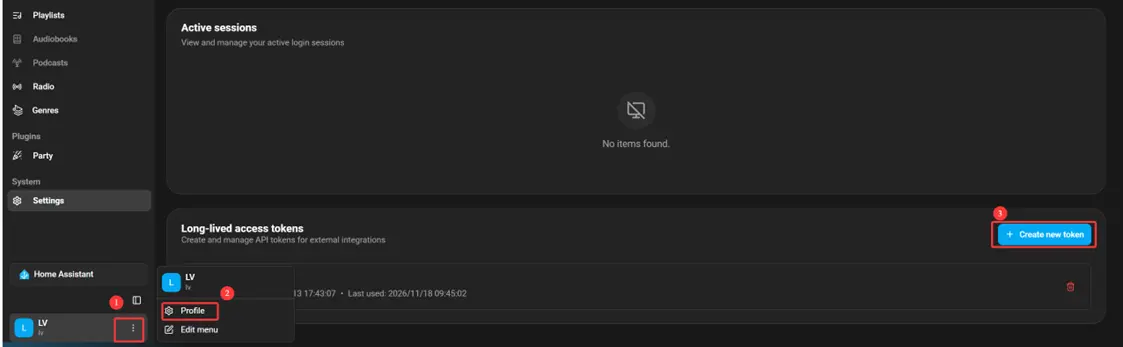
8095). - Token: Create a new token in the MA admin page (Settings → Users → Create long-lived token).
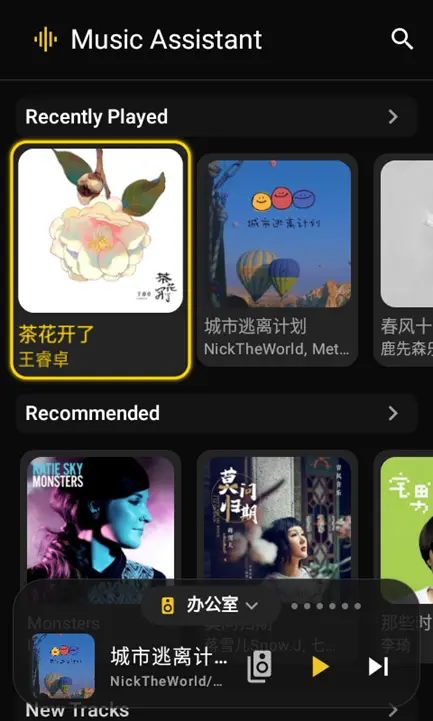
Submit the details. Once connected, the remote will load the MA main interface.
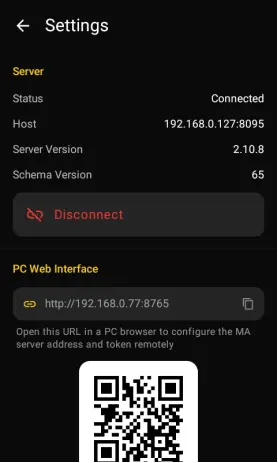
Settings & Hardware Shortcuts
Click the Music Assistant title in the top left corner to open the settings menu. Here you can view connection info, disconnect, scan for a new server, or configure the lyrics screensaver.
Astrion Remote Hardware Key Mapping:
| Model | Previous | Play / Pause | Stop | Next | Volume |
|---|---|---|---|---|---|
| HA100A | Light button | Curtain button | Music button | AC button | Vol +/- |
| HA100B | Prev button | Play/Stop button | Stop button | Next button | Vol +/- |
| Astrion Pro | Prev button | Play/Stop button | Stop button | Next button | Vol +/- |
| X9 Vela | — | — | — | — | Vol +/- |
Note: Button mappings depend on the current firmware and MA version.
Mini Player Operations
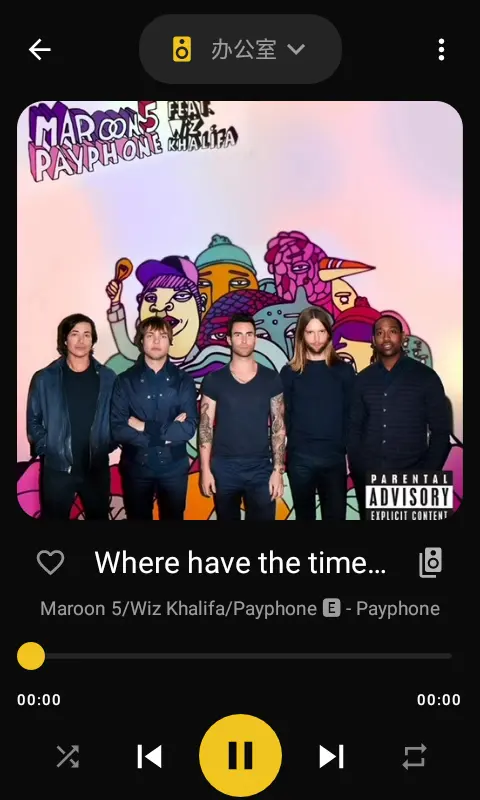
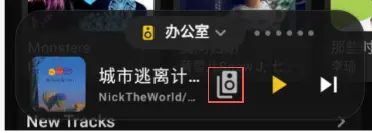
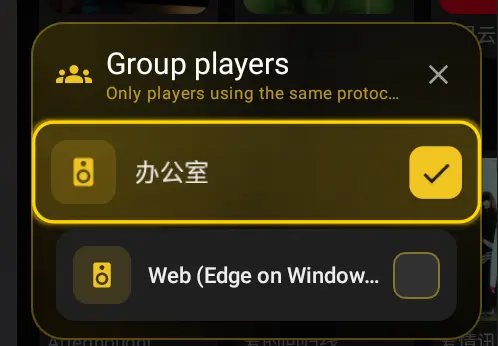
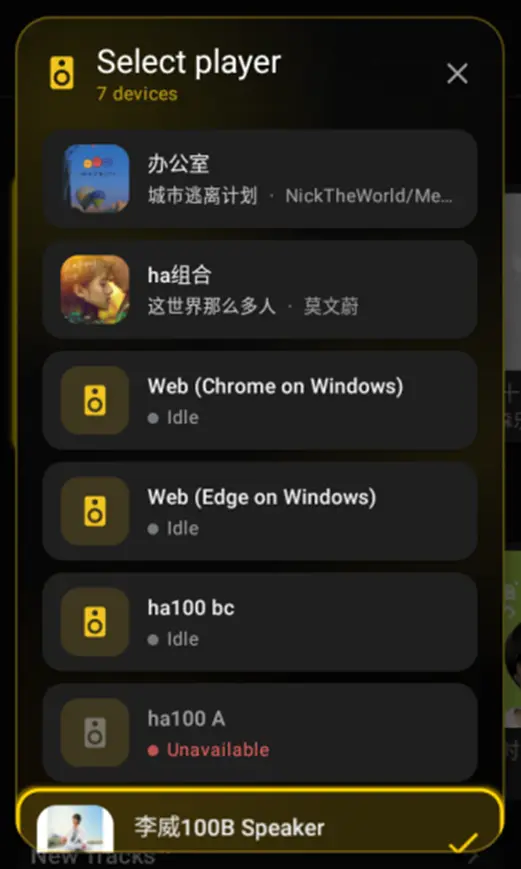
The MA mini-player on the remote allows you to quickly switch entities, group players, and open album details.
- Switch Playback Entity: Swipe left or right on the mini player.
- Select Player: Tap the current playback entity name to open the player selection list.
- Group Players: Tap the speaker icon area to open the temporary grouping interface.
- Album Details: Tap the album cover to enter the album/playback detail page.
Add HA Media Player to MA
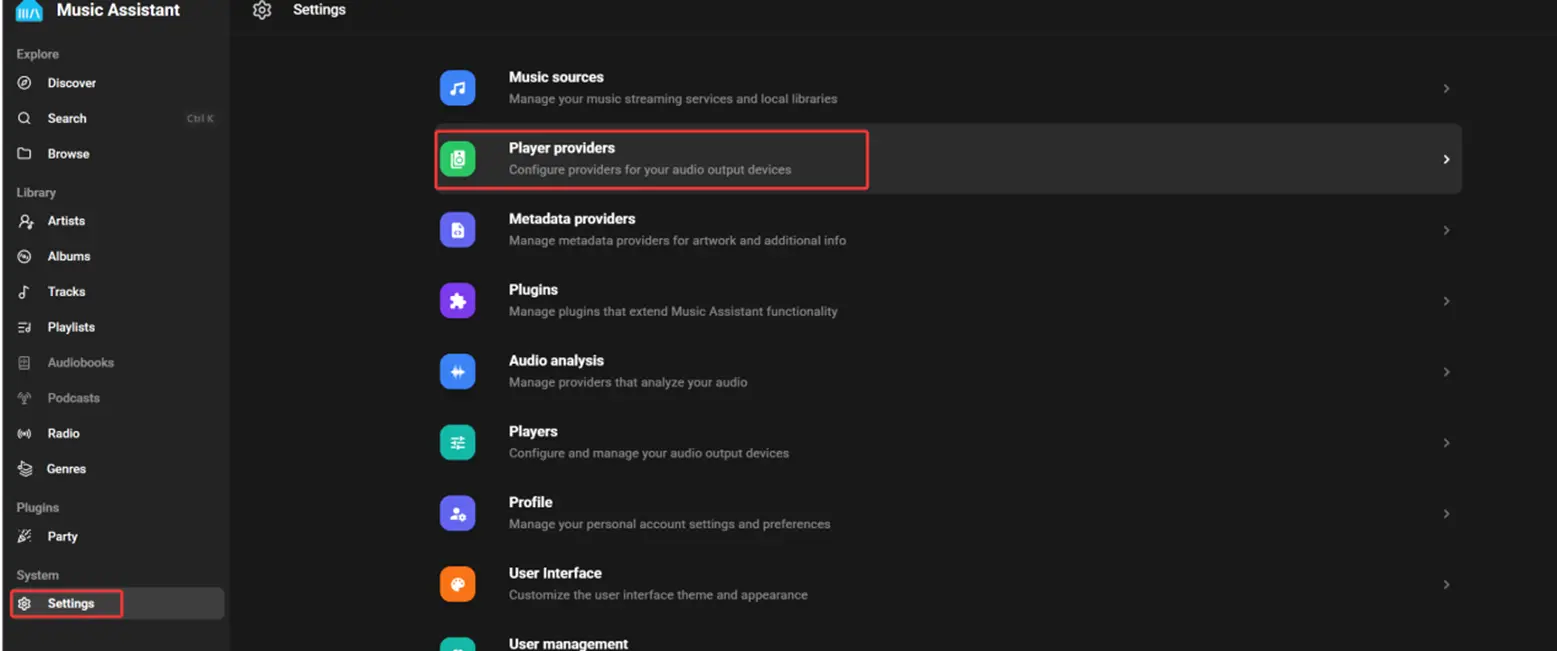
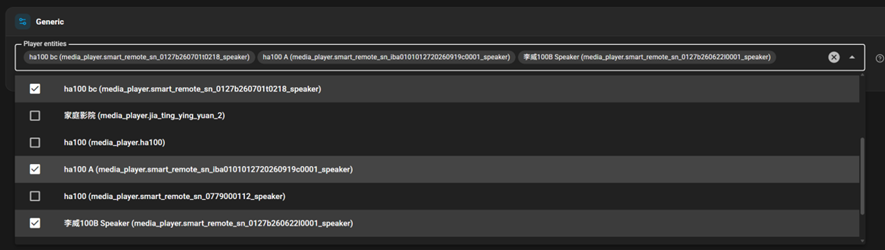
To use the remote's Media Player entity in MA, you need to add the Home Assistant MediaPlayers provider.
- Go to Settings → Player providers → Home Assistant MediaPlayers.
- In the Player entities dropdown, select the Media Player entity corresponding to your remote.
- If you have multiple remotes, identify the correct one by checking the entity name or device ID.

Common Issues & Tips
- MA black screen / won't launch: Exit MA and reopen it.
- Switch MA servers: Inside MA, tap the top-left title, then scan the QR code of the new server.
- Initial lag: MA is loading data. Give it a moment.
- Token lost: You must create a new long-lived token.
- Return to ROS: Just press the back button.
- Data not syncing: Changes made in the MA web interface won't instantly appear on the remote. Perform a "pull down" gesture on the screen (not the refresh button in the menu) to update.